Want to install mods in World of Tanks but can’t find a working tutorial? Here’s the current method that actually works in 2026.
I figured out the current method that actually works, and I’m going to show you exactly how to do it. We’ll be using the Enemy reload timer mod as our example since it’s one of the most useful mods for improving your gameplay.
The best part? This method works for pretty much any World of Tanks mod you want to install, whether it’s interface improvements, tank skins, or gameplay enhancements like reload timers. Let’s jump right in and get your mods working!

Step-by-Step Installation Guide
Alright, let’s get down to business. I’m going to walk you through two different methods, but don’t worry – the first one is what you’ll use 99% of the time.
Method 1: Installing Archive Mods (Most Common)
This is the method that works for almost all mods you’ll download, including our enemy reload timer example.
Step 1: Download the mod Head over to playgamedownload.com and grab the Enemy reload timer mod. It’ll download to your Downloads folder – just let it finish completely before moving on.
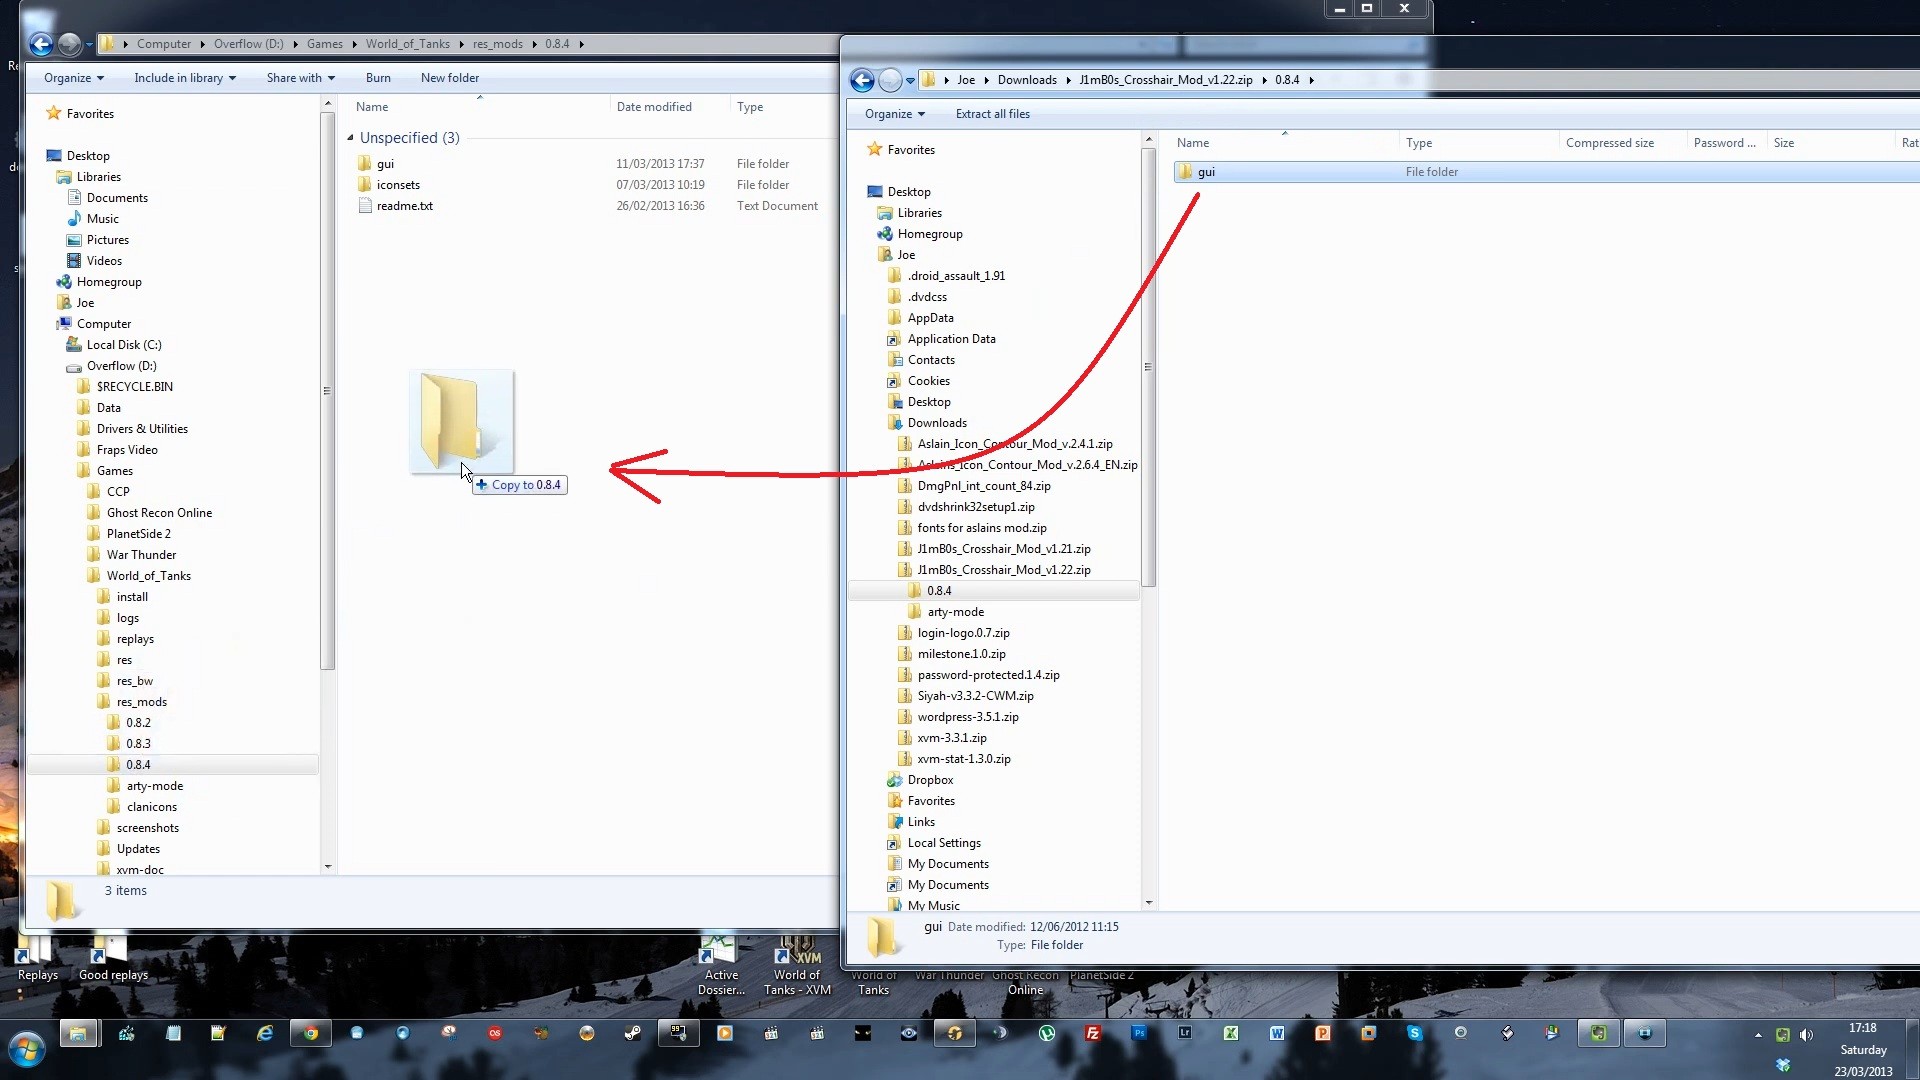
Step 2: Open two file explorers Here’s a pro tip that’ll make your life easier – open two separate file explorer windows. Trust me, you’ll thank me later when you’re copying files back and forth.
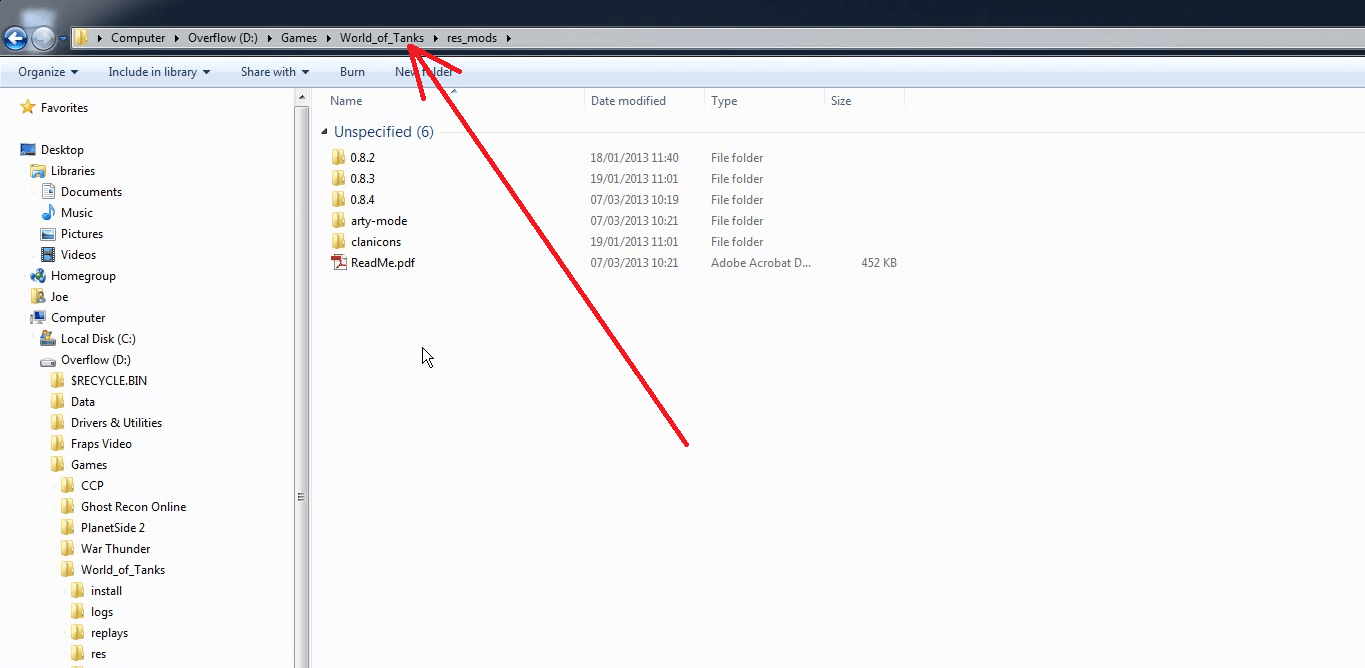
Step 3: Navigate to your World of Tanks folder In one of your file explorers, you need to find where World of Tanks is installed. For most people, it’s going to be something like:
C:GamesWorld_of_TanksC:Program FilesWorld_of_Tanks- Or wherever you installed it
Step 4: Find the res_mods folder Once you’re in your World of Tanks directory, look for a folder called res_mods. This is where all your mods live. Click into it.
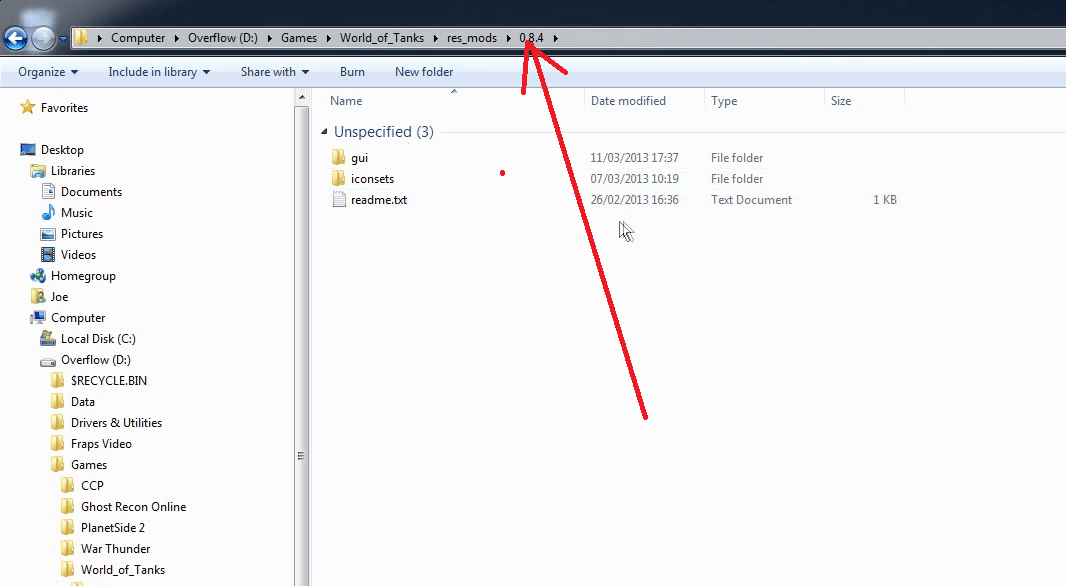
Step 5: Navigate to your current game version Inside res_mods, you’ll see folders with version numbers like 1.10.2 or 1.11.0. Pick the one that matches your current World of Tanks version – it should be the most recent one.
Step 6: Extract and copy mod files Right-click on your downloaded mod file in the Downloads folder and rename it to .zip if it’s not already. Then extract all the files from this archive. Copy these extracted files and go back to your World of Tanks res_mods version folder to paste everything in there. Windows might ask if you want to merge folders – just say yes.
Step 7: Launch World of Tanks Fire up your game and you’re almost done! But there’s one more crucial step…
Method 2: Installing .wotmod Files (For Advanced Users)
Some mods come as .wotmod files that don’t need extracting. For these:
- Download the
.wotmodfile from playgamedownload.com - Navigate to your
World of Tanks/res_mods/[version]/folder - Simply drop the
.wotmodfile directly into that folder - Launch the game
That’s it! The game will automatically recognize and load the mod.
This actually works! Been struggling with outdated tutorials for hours before finding this guide.
Perfect tutorial, thanks! Just make sure you extract the files properly or the mod won’t show up in game.